Lucky Emblem: Difference between revisions
No edit summary |
|||
| Line 60: | Line 60: | ||
[[Olympus]] has 12 Lucky Emblems that need to be photographed. | [[Olympus]] has 12 Lucky Emblems that need to be photographed. | ||
{|cellspacing="0" cellpadding="6" border="1" align="center" width="900px" | {|class="mw-collapsible mw-collapsed" cellspacing="0" cellpadding="6" border="1" align="center" width="900px" | ||
!style="background:#6495ED" width="5%"|Number | !style="background:#6495ED" width="5%"|Number | ||
!style="background:#6495ED" width="25%"|Lucky Emblem | !style="background:#6495ED" width="25%"|Lucky Emblem | ||
| Line 94: | Line 94: | ||
[[Twilight Town]] has nine Lucky Emblems that need to be photographed. | [[Twilight Town]] has nine Lucky Emblems that need to be photographed. | ||
{|cellspacing="0" cellpadding="6" border="1" align="center" width="900px" | {|class="mw-collapsible mw-collapsed" cellspacing="0" cellpadding="6" border="1" align="center" width="900px" | ||
!style="background:#6495ED" width="5%"|Number | !style="background:#6495ED" width="5%"|Number | ||
!style="background:#6495ED" width="25%"|Lucky Emblem | !style="background:#6495ED" width="25%"|Lucky Emblem | ||
| Line 123: | Line 123: | ||
[[Toy Box]] has 11 Lucky Emblems that need to be photographed. | [[Toy Box]] has 11 Lucky Emblems that need to be photographed. | ||
{|cellspacing="0" cellpadding="6" border="1" align="center" width="900px" | {|class="mw-collapsible mw-collapsed" cellspacing="0" cellpadding="6" border="1" align="center" width="900px" | ||
!style="background:#6495ED" width="5%"|Number | !style="background:#6495ED" width="5%"|Number | ||
!style="background:#6495ED" width="25%"|Lucky Emblem | !style="background:#6495ED" width="25%"|Lucky Emblem | ||
| Line 137: | Line 137: | ||
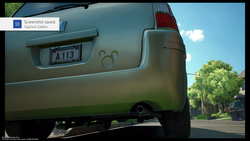
| 4 || [[File:Lucky Emblem (Toy Box) 04 KHIII.png|250px]] || || Imprint on car | | 4 || [[File:Lucky Emblem (Toy Box) 04 KHIII.png|250px]] || || Imprint on car | ||
|- | |- | ||
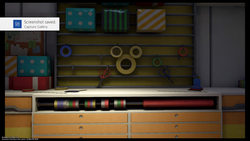
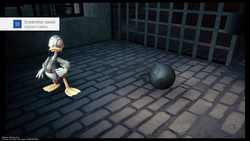
| 5 || [[File:Lucky Emblem (Toy Box) 05 KHIII.png|250px]] || || Made of | | 5 || [[File:Lucky Emblem (Toy Box) 05 KHIII.png|250px]] || || Made of tape | ||
|- | |- | ||
| 6 || [[File:Lucky Emblem (Toy Box) 06 KHIII.png|250px]] || || | | 6 || [[File:Lucky Emblem (Toy Box) 06 KHIII.png|250px]] || || Imprint on wall | ||
|- | |- | ||
| 7 || [[File:Lucky Emblem (Toy Box) 07 KHIII.png|250px]] || || Imprint on wall | | 7 || [[File:Lucky Emblem (Toy Box) 07 KHIII.png|250px]] || || Imprint on wall | ||
|- | |- | ||
| 8 || [[File:Lucky Emblem (Toy Box) 08 KHIII.png|250px]] || || Imprint on | | 8 || [[File:Lucky Emblem (Toy Box) 08 KHIII.png|250px]] || || Imprint on UFO | ||
|- | |- | ||
| 9 || [[File:Lucky Emblem (Toy Box) 09 KHIII.png|250px]] || || Made of disco balls, have to be taken from a specific angle in order to be photographed | | 9 || [[File:Lucky Emblem (Toy Box) 09 KHIII.png|250px]] || || Made of disco balls, have to be taken from a specific angle in order to be photographed | ||
|- | |- | ||
| 10 || [[File:Lucky Emblem (Toy Box) 10 KHIII.png|250px]] || || Imprint on | | 10 || [[File:Lucky Emblem (Toy Box) 10 KHIII.png|250px]] || || Imprint on stand | ||
|- | |- | ||
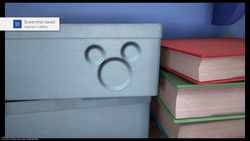
| 11 || [[File:Lucky Emblem (Toy Box) 11 KHIII.png|250px]] || || | | 11 || [[File:Lucky Emblem (Toy Box) 11 KHIII.png|250px]] || || Made of box and stickers | ||
|- | |- | ||
|} | |} | ||
| Line 156: | Line 156: | ||
[[Kingdom of Corona]] has nine Lucky Emblems that need to be photographed. | [[Kingdom of Corona]] has nine Lucky Emblems that need to be photographed. | ||
{|cellspacing="0" cellpadding="6" border="1" align="center" width="900px" | {|class="mw-collapsible mw-collapsed" cellspacing="0" cellpadding="6" border="1" align="center" width="900px" | ||
!style="background:#6495ED" width="5%"|Number | !style="background:#6495ED" width="5%"|Number | ||
!style="background:#6495ED" width="25%"|Lucky Emblem | !style="background:#6495ED" width="25%"|Lucky Emblem | ||
| Line 172: | Line 172: | ||
| 5 || [[File:Lucky Emblem (Kingdom of Corona) 05 KHIII.png|250px]] || || Imprint on wall | | 5 || [[File:Lucky Emblem (Kingdom of Corona) 05 KHIII.png|250px]] || || Imprint on wall | ||
|- | |- | ||
| 6 || [[File:Lucky Emblem (Kingdom of Corona) 06 KHIII.png|250px]] || || | | 6 || [[File:Lucky Emblem (Kingdom of Corona) 06 KHIII.png|250px]] || || Imprint on door | ||
|- | |- | ||
| 7 || [[File:Lucky Emblem (Kingdom of Corona) 07 KHIII.png|250px]] || || Imprint on wall | | 7 || [[File:Lucky Emblem (Kingdom of Corona) 07 KHIII.png|250px]] || || Imprint on wall | ||
|- | |- | ||
| 8 || [[File:Lucky Emblem (Kingdom of Corona) 08 KHIII.png|250px]] || || | | 8 || [[File:Lucky Emblem (Kingdom of Corona) 08 KHIII.png|250px]] || || Made of crates and barrels | ||
|- | |- | ||
| 9 || [[File:Lucky Emblem (Kingdom of Corona) 09 KHIII.png|250px]] || || Imprint on ashes | | 9 || [[File:Lucky Emblem (Kingdom of Corona) 09 KHIII.png|250px]] || || Imprint on ashes | ||
| Line 185: | Line 185: | ||
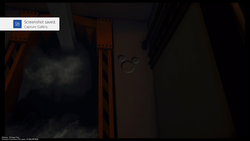
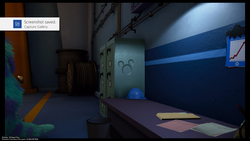
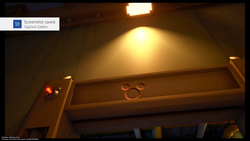
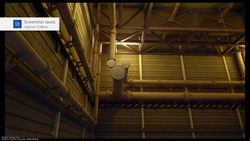
[[Monstropolis]] has 11 Lucky Emblems that need to be photographed. | [[Monstropolis]] has 11 Lucky Emblems that need to be photographed. | ||
{|cellspacing="0" cellpadding="6" border="1" align="center" width="900px" | {|class="mw-collapsible mw-collapsed" cellspacing="0" cellpadding="6" border="1" align="center" width="900px" | ||
!style="background:#6495ED" width="5%"|Number | !style="background:#6495ED" width="5%"|Number | ||
!style="background:#6495ED" width="25%"|Lucky Emblem | !style="background:#6495ED" width="25%"|Lucky Emblem | ||
| Line 218: | Line 218: | ||
[[Arendelle]] has 11 Lucky Emblems that need to be photographed. | [[Arendelle]] has 11 Lucky Emblems that need to be photographed. | ||
{|cellspacing="0" cellpadding="6" border="1" align="center" width="900px" | {|class="mw-collapsible mw-collapsed" cellspacing="0" cellpadding="6" border="1" align="center" width="900px" | ||
!style="background:#6495ED" width="5%"|Number | !style="background:#6495ED" width="5%"|Number | ||
!style="background:#6495ED" width="25%"|Lucky Emblem | !style="background:#6495ED" width="25%"|Lucky Emblem | ||
| Line 251: | Line 251: | ||
[[100 Acre Wood]] has three Lucky Emblems that need to be photographed. | [[100 Acre Wood]] has three Lucky Emblems that need to be photographed. | ||
{|cellspacing="0" cellpadding="6" border="1" align="center" width="900px" | {|class="mw-collapsible mw-collapsed" cellspacing="0" cellpadding="6" border="1" align="center" width="900px" | ||
!style="background:#6495ED" width="5%"|Number | !style="background:#6495ED" width="5%"|Number | ||
!style="background:#6495ED" width="25%"|Lucky Emblem | !style="background:#6495ED" width="25%"|Lucky Emblem | ||
| Line 265: | Line 265: | ||
|} | |} | ||
=== | ===The Caribbean=== | ||
[[ | [[The Caribbean]] has 13 Lucky Emblems that need to be photographed. | ||
{|cellspacing="0" cellpadding="6" border="1" align="center" width="900px" | {|class="mw-collapsible mw-collapsed" cellspacing="0" cellpadding="6" border="1" align="center" width="900px" | ||
!style="background:#6495ED" width="5%"|Number | !style="background:#6495ED" width="5%"|Number | ||
!style="background:#6495ED" width="25%"|Lucky Emblem | !style="background:#6495ED" width="25%"|Lucky Emblem | ||
| Line 274: | Line 274: | ||
!style="background:#6495ED" width="45%"|Notes | !style="background:#6495ED" width="45%"|Notes | ||
|- | |- | ||
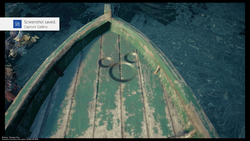
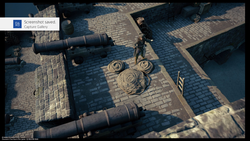
| 1 || [[File:Lucky Emblem ( | | 1 || [[File:Lucky Emblem (The Caribbean) 01 KHIII.png|250px]] || || Imprint on ship's deck | ||
|- | |||
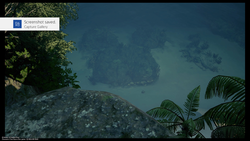
| 2 || [[File:Lucky Emblem (The Caribbean) 02 KHIII.png|250px]] || || Imprint on rock | |||
|- | |||
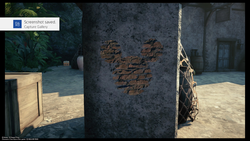
| 3 || [[File:Lucky Emblem (The Caribbean) 03 KHIII.png|250px]] || || Imprint on wall | |||
|- | |- | ||
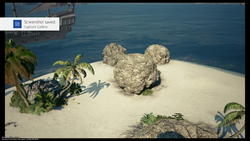
| | | 4 || [[File:Lucky Emblem (The Caribbean) 04 KHIII.png|250px]] || || Rock formation | ||
|- | |- | ||
| | | 5 || [[File:Lucky Emblem (The Caribbean) 05 KHIII.png|250px]] || || Rock formation | ||
|- | |- | ||
| | | 6 || [[File:Lucky Emblem (The Caribbean) 06 KHIII.png|250px]] || || Rock formation | ||
|- | |- | ||
| | | 7 || [[File:Lucky Emblem (The Caribbean) 07 KHIII.png|250px]] || || Broken barrels formation | ||
|- | |- | ||
| | | 8 || [[File:Lucky Emblem (The Caribbean) 08 KHIII.png|250px]] || || Imprint on boat | ||
|- | |- | ||
| | | 9 || [[File:Lucky Emblem (The Caribbean) 09 KHIII.png|250px]] || || Imprint on pillar | ||
|- | |- | ||
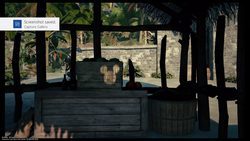
| | | 10 || [[File:Lucky Emblem (The Caribbean) 10 KHIII.png|250px]] || || Light cast through the shack, have to be photographed from a specific angle | ||
|- | |- | ||
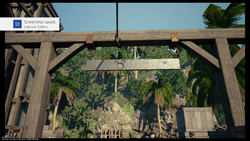
| | | 11 || [[File:Lucky Emblem (The Caribbean) 11 KHIII.png|250px]] || || Imprint on sign | ||
|- | |- | ||
| | | 12 || [[File:Lucky Emblem (The Caribbean) 12 KHIII.png|250px]] || || Imprint on shackle | ||
|- | |- | ||
| | | 13 || [[File:Lucky Emblem (The Caribbean) 13 KHIII.png|250px]] || || Made of rope | ||
|- | |- | ||
|} | |} | ||
=== | ===San Fransokyo=== | ||
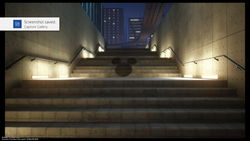
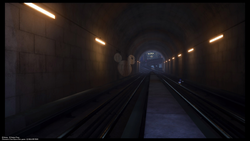
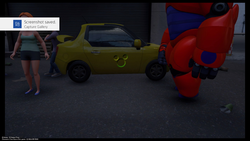
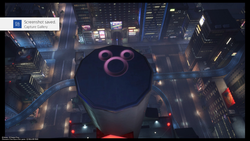
[[ | [[San Fransokyo]] has 11 Lucky Emblems that need to be photographed. | ||
{|cellspacing="0" cellpadding="6" border="1" align="center" width="900px" | {|class="mw-collapsible mw-collapsed" cellspacing="0" cellpadding="6" border="1" align="center" width="900px" | ||
!style="background:#6495ED" width="5%"|Number | !style="background:#6495ED" width="5%"|Number | ||
!style="background:#6495ED" width="25%"|Lucky Emblem | !style="background:#6495ED" width="25%"|Lucky Emblem | ||
| Line 307: | Line 311: | ||
!style="background:#6495ED" width="45%"|Notes | !style="background:#6495ED" width="45%"|Notes | ||
|- | |- | ||
| 1 || [[File:Lucky Emblem ( | | 1 || [[File:Lucky Emblem (San Fransokyo) 01 KHIII.png|250px]] || || Made of wires | ||
|- | |- | ||
| 2 || [[File:Lucky Emblem ( | | 2 || [[File:Lucky Emblem (San Fransokyo) 02 KHIII.png|250px]] || || Bush formation | ||
|- | |- | ||
| 3 || [[File:Lucky Emblem ( | | 3 || [[File:Lucky Emblem (San Fransokyo) 03 KHIII.png|250px]] || || Light formation, can only be photographed at night | ||
|- | |- | ||
| 4 || [[File:Lucky Emblem ( | | 4 || [[File:Lucky Emblem (San Fransokyo) 04 KHIII.png|250px]] || || Imprint on fan | ||
|- | |- | ||
| 5 || [[File:Lucky Emblem ( | | 5 || [[File:Lucky Emblem (San Fransokyo) 05 KHIII.png|250px]] || || Imprint on wall | ||
|- | |- | ||
| 6 || [[File:Lucky Emblem ( | | 6 || [[File:Lucky Emblem (San Fransokyo) 06 KHIII.png|250px]] || || Imprint on roof | ||
|- | |- | ||
| 7 || [[File:Lucky Emblem ( | | 7 || [[File:Lucky Emblem (San Fransokyo) 07 KHIII.png|250px]] || || Imprint on koi fish balloon | ||
|- | |- | ||
| 8 || [[File:Lucky Emblem ( | | 8 || [[File:Lucky Emblem (San Fransokyo) 08 KHIII.png|250px]] || || Imprint on stairs | ||
|- | |- | ||
| 9 || [[File:Lucky Emblem ( | | 9 || [[File:Lucky Emblem (San Fransokyo) 09 KHIII.png|250px]] || || Light in the tunnel, have to photographed from a specific angle | ||
|- | |- | ||
| 10 || [[File:Lucky Emblem ( | | 10 || [[File:Lucky Emblem (San Fransokyo) 10 KHIII.png|250px]] || || Imprint on chimney | ||
|- | |- | ||
| 11 || [[File:Lucky Emblem ( | | 11 || [[File:Lucky Emblem (San Fransokyo) 11 KHIII.png|250px]] || || Imprint on car | ||
|- | |- | ||
|} | |} | ||
{{KH3}} | {{KH3}} | ||
[[Category:Kingdom Hearts III]] | [[Category:Kingdom Hearts III]] | ||
Revision as of 15:14, 14 March 2019
I'm carrying on what you yourself began, and I'm creating a brand new world, one heart at a time.
| |
|---|---|
| This article is under construction.
You are free to help improve it. Please consult the Manual of Style before doing so. | |
Gawrsh, aren't we here because of the picture?
| |
|---|---|
| This article needs some images!
Please upload a picture of redo screenshots to not have the "taking screenshot" thing. | |
Yes, the untapped power that lies within you. Now, child, it's time you awakened that power and realized your full potential.
| ||
| This article needs more information!
Improve it by adding what you know about the following issues. This article lacks: Lucky Emblem locations. | ||
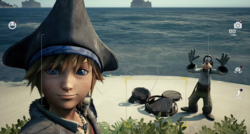
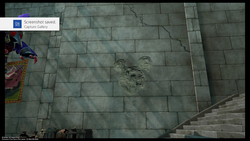
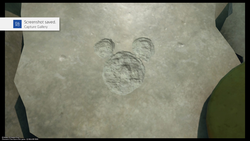
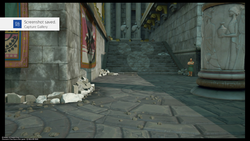
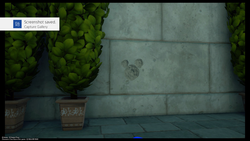
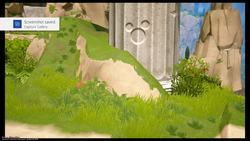
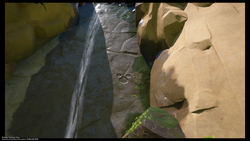
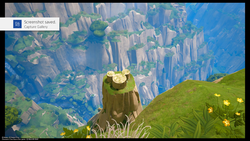
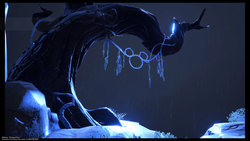
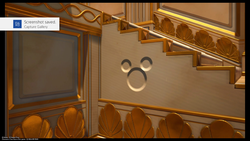
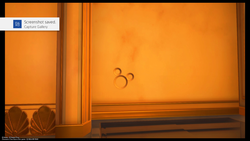
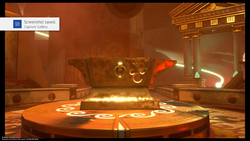
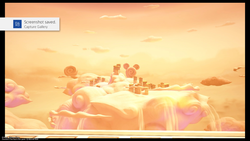
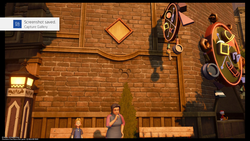
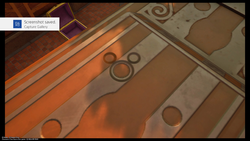
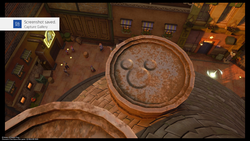
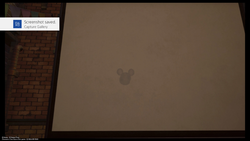
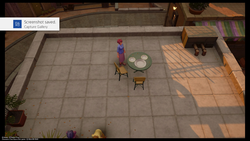
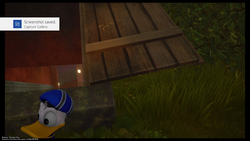
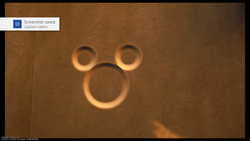
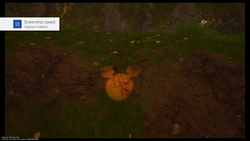
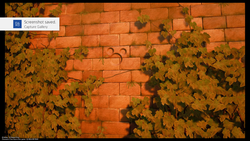
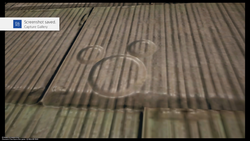
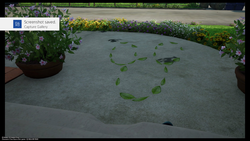
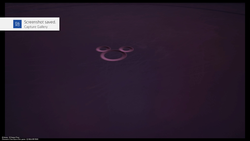
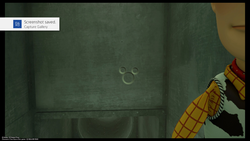
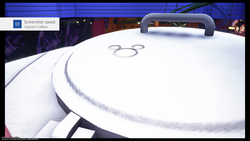
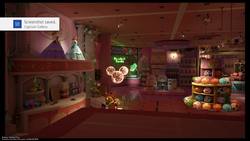
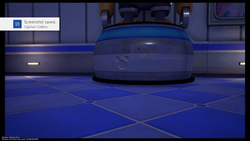
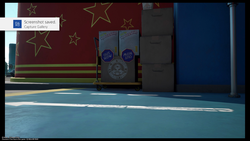
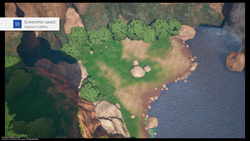
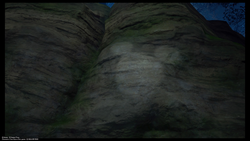
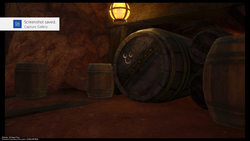
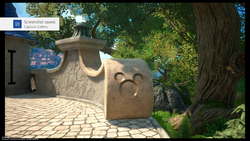
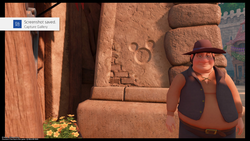
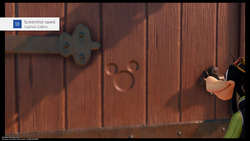
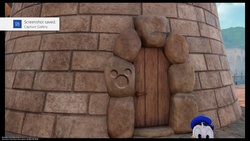
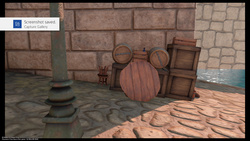
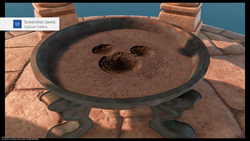
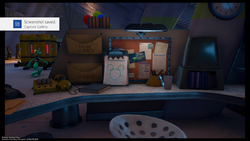
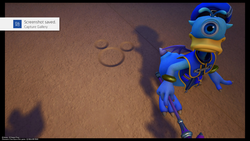
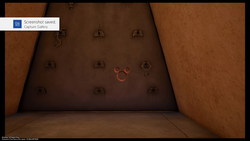
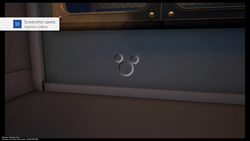
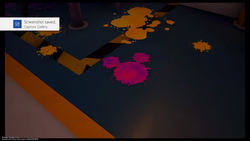
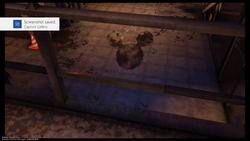
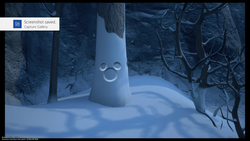
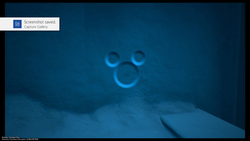
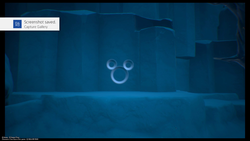
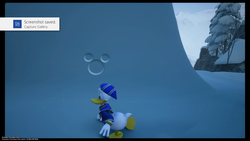
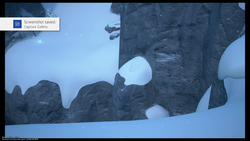
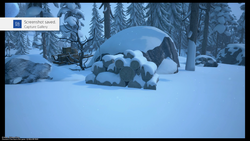
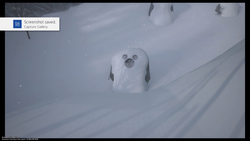
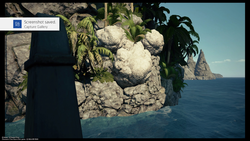
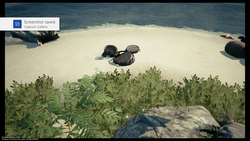
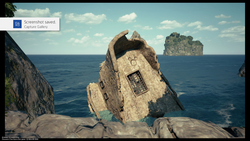
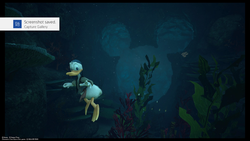
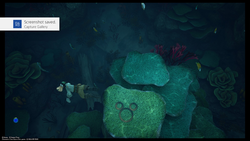
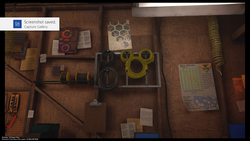
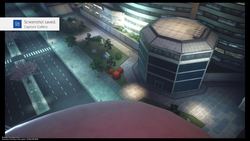
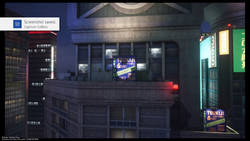
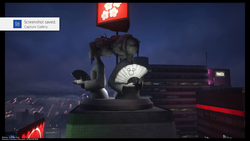
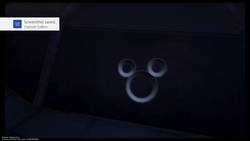
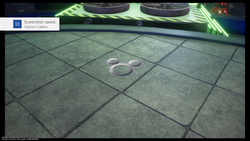
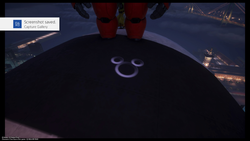
Lucky Emblems are Hidden Mickeys in the worlds of Kingdom Hearts III. They can be photographed with the Gummiphone. While the majority of them are simply standard Mickey Heads stamped into a wall, they can sometimes be more esoteric, incorporating standard objects that resemble a Mickey Head when viewed from a specific angle.
Story
Kingdom Hearts III
Gameplay
Sora is given a reward once a certain number of Lucky Emblems are photographed.
| # | Reward |
|---|---|
| 1 | AP Boost |
| 3 | Mega-Potion |
| 5 | Expert’s Ring |
| 10 | Thundara Trinket |
| 15 | Moon Amulet |
| 20 | Magic Boost |
| 25 | Star Charm |
| 30 | Ribbon |
| 35 | Buster Band+ |
| 40 | Strength Boost |
| 45 | Master’s Necklace |
| 50 | Wisdom Ring |
| 55 | Defense Boost |
| 60 | Orichalcum Ring |
| 65 | Cosmic Belt+ |
| 70 | Royal Ribbon |
| 80 | Orichalcum+ |
| 90 | Mickey Clasp |
The amount of Lucky Emblems photographed is tied to unlocking the Secret Ending. On Beginner, the player must photograph all 90 of them. On Standard, the requirement is 60. On Proud, the requirement is 30.
List of Lucky Emblem
Olympus
Olympus has 12 Lucky Emblems that need to be photographed.
Twilight Town
Twilight Town has nine Lucky Emblems that need to be photographed.
Toy Box
Toy Box has 11 Lucky Emblems that need to be photographed.
Kingdom of Corona
Kingdom of Corona has nine Lucky Emblems that need to be photographed.
Monstropolis
Monstropolis has 11 Lucky Emblems that need to be photographed.
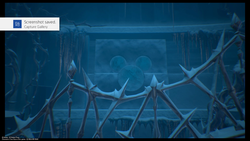
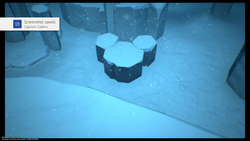
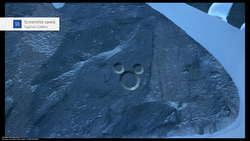
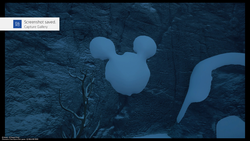
Arendelle
Arendelle has 11 Lucky Emblems that need to be photographed.
100 Acre Wood
100 Acre Wood has three Lucky Emblems that need to be photographed.
| Number | Lucky Emblem | Location | Notes |
|---|---|---|---|
| 1 | 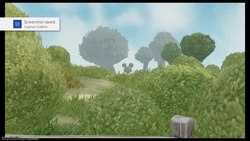 |
Imprint on pumpkin | |
| 2 | 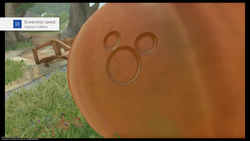 |
Tree formation in the distance | |
| 3 | 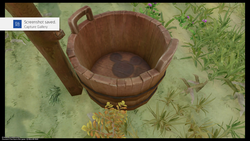 |
Imprint on the bottom of the bucket |
The Caribbean
The Caribbean has 13 Lucky Emblems that need to be photographed.
San Fransokyo
San Fransokyo has 11 Lucky Emblems that need to be photographed.

